Creating a fake chat screenshot with FakeChat Fun takes only a few seconds. This guide covers the step-by-step process of downloading your finished image: from clicking the download button to re-downloading files from the paid screenshots section.
How to Download a Screenshot in the Generator

To save your generated chat to your smartphone or computer, follow a few simple steps in the generator control panel. Before downloading, make sure your image layout is set correctly—use the screenshot scroll tool to align everything properly.
Click the "Download" Button
Below the chat preview window, locate the main "Download Screenshot" button and click it to start rendering your image.
Apply a Premium Key (Optional)
If you need a clean HD screenshot without watermarks, enter your license key code and click "Apply Key". Read more about key purchases and activation in our activation guide. You can explore available plans in the pricing section on the homepage.
Done! File Saved to Your "Downloads"
Generation takes 1–3 seconds, after which the PNG screenshot automatically saves to your smartphone gallery or PC "Downloads" folder.
Re-downloading Paid Screenshots
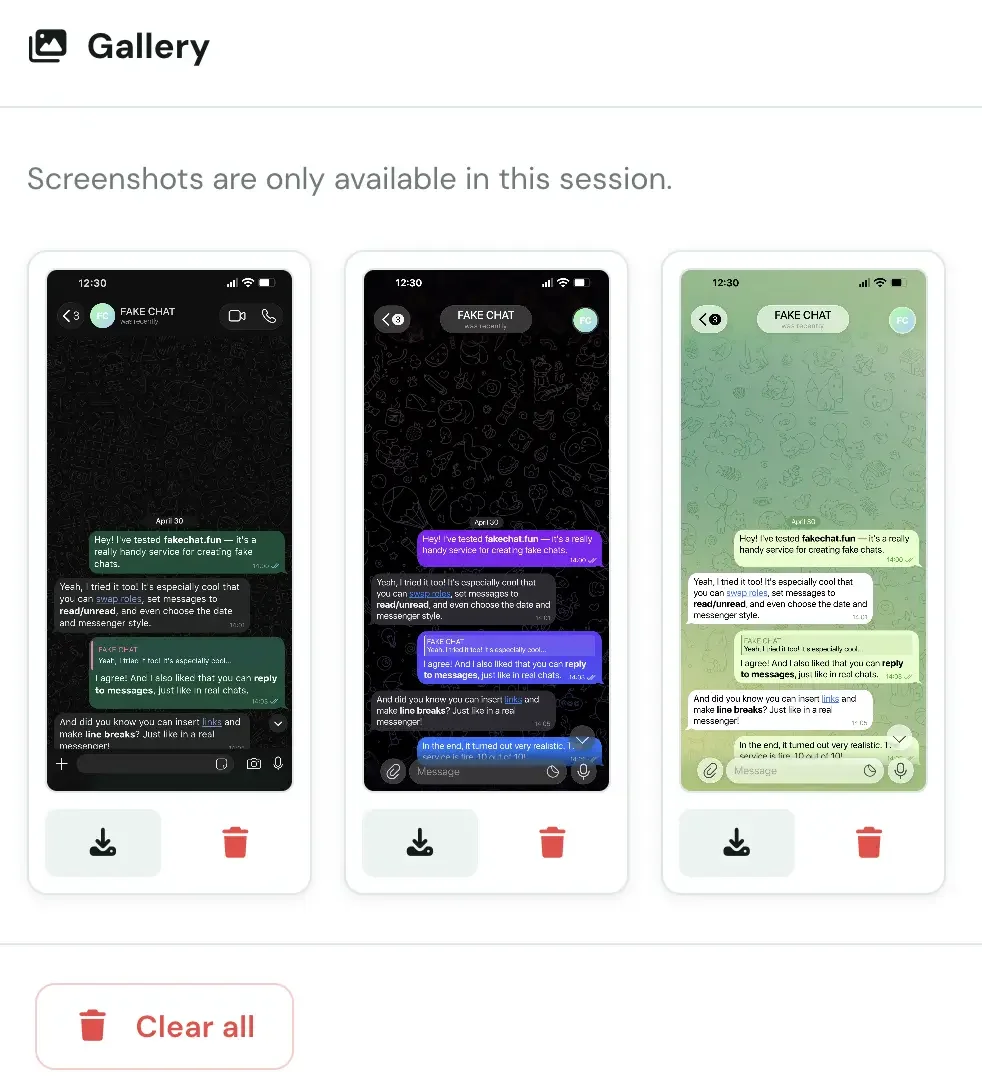
If you accidentally deleted a downloaded file or want to save it again, use the paid screenshots section. All screenshots processed and saved during your current session are automatically displayed in this block.
How to Find Paid Screenshots
Scroll down the generator page to the "Paid Screenshots" section. This block displays all ready-to-use files created during your session.
Re-downloading Files
Click on any screenshot in this section to download it again. Note: Re-downloading previously paid screenshots does not consume additional premium key uses. You can save the same file as many times as you like.
Screenshot Storage
This section stores screenshots during your active browser session. For long-term storage, save files directly to your device or export your project to JSON.